 |
Here is the grain of the new handle. It had the best grain of any handle at the hardware
store. I bought it at Lowes. Next time I will make my own. |
Today I am going to talk about an old double-bitted axe that I have re-hanged and restored. I have removed the rust, sharpened the bits, and bought and modified a new handle for it. Here is how I did it:
 |
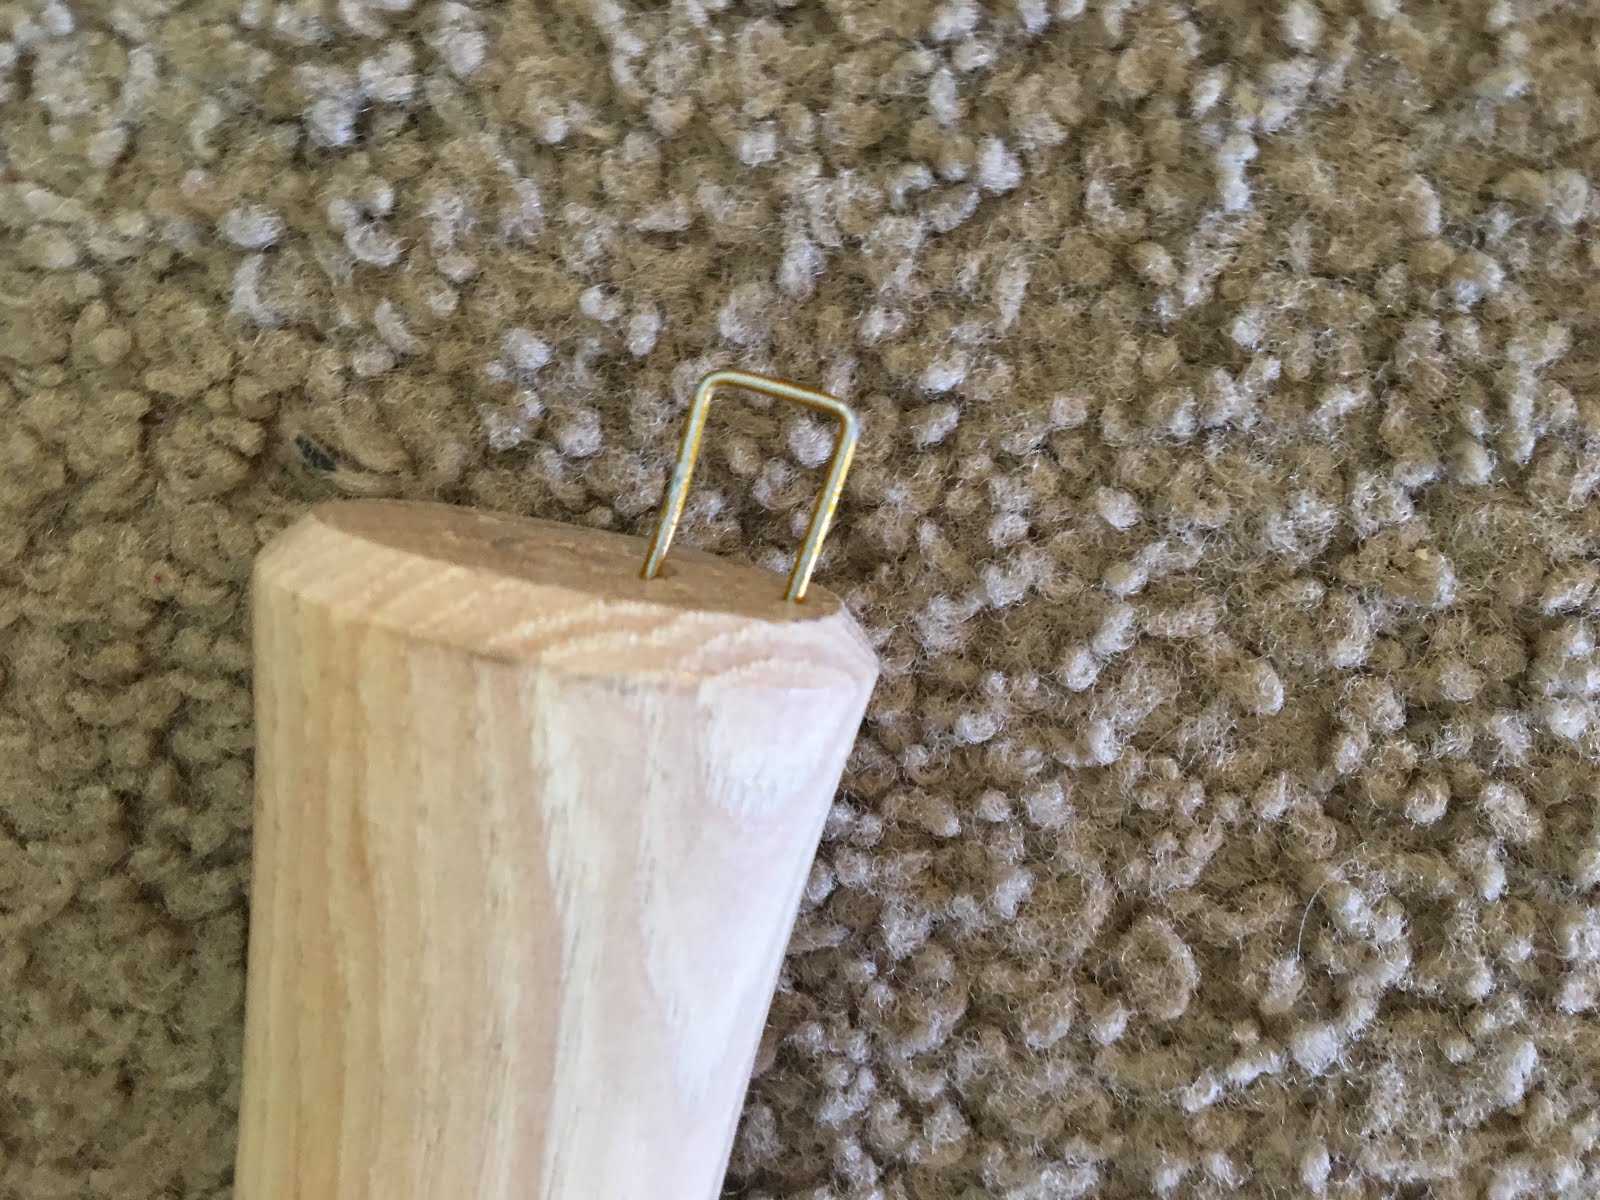
I pulled this ugly staple out of the handle. It was stuck in it
when I bought it. |
Step 1- I knocked out the old handle. I did this by sawing off the handle and leaving a couple of inches, and then I knocked out the old handle with a drift. The handle was removed.
 |
| The old axe and handle. |
Step 2-Rehanging. First, I inserted the new handle. I had also stripped all of the varnish off of the new handle with my knife (or as much as I could, anyway). After inserting the handle, I kept removing material from the eye area of the handle until the head fit on well.
 |
The handle from the store (and my ugly carpet, haha!) Sorry for
the poor backdrop! It won't happen again! |
Step 3- I took the handle out and coated it with boiled linseed oil (BLO).
Step 4- I re-inserted the handle and pounded in the wooden wedge.
 |
Here is the wooden wedge I used. I did not use
wood glue when I put in the wedge. Just linseed oil. |
Step 5-I pounded in the step wedges. (Here's the story of how I got them: I went to the hardware store because I forgot about getting step wedges. I asked a couple of employees at the hardware store and they didn't even know what a step wedge was. Funny, right? I went over to the part of the hardware store where I bought my axe handle and I found wedge kits for re-handling a sledge hammer. The kits were 98 cents each. I bought one after I saw they had 2 step wedges in each kit along with a sledge hammer wedge.)
 |
Here you can see the wooden wedge and the two metal step wedges.
The wedge system pushes the wood towards all the walls in the axe eye
to ensure a tight fit. |
Step 6-I lightly sanded the handle and applied a coat of BLO. I made sure to soak the end grains of the handle and the eye area to make the wood swell so that it wouldn't come loose.
Step 7-I worked the face of the axe: I used a file to remove the major nicks in the axe bit. Then I sharpened it really sharp with a ceramic rod. I lightly sanded the face of the axe to remove any rust.
 |
| The finished product. |
I hope this was helpful and if you liked this post, please follow and/or check back often! Also, please comment below. Thanks!


